
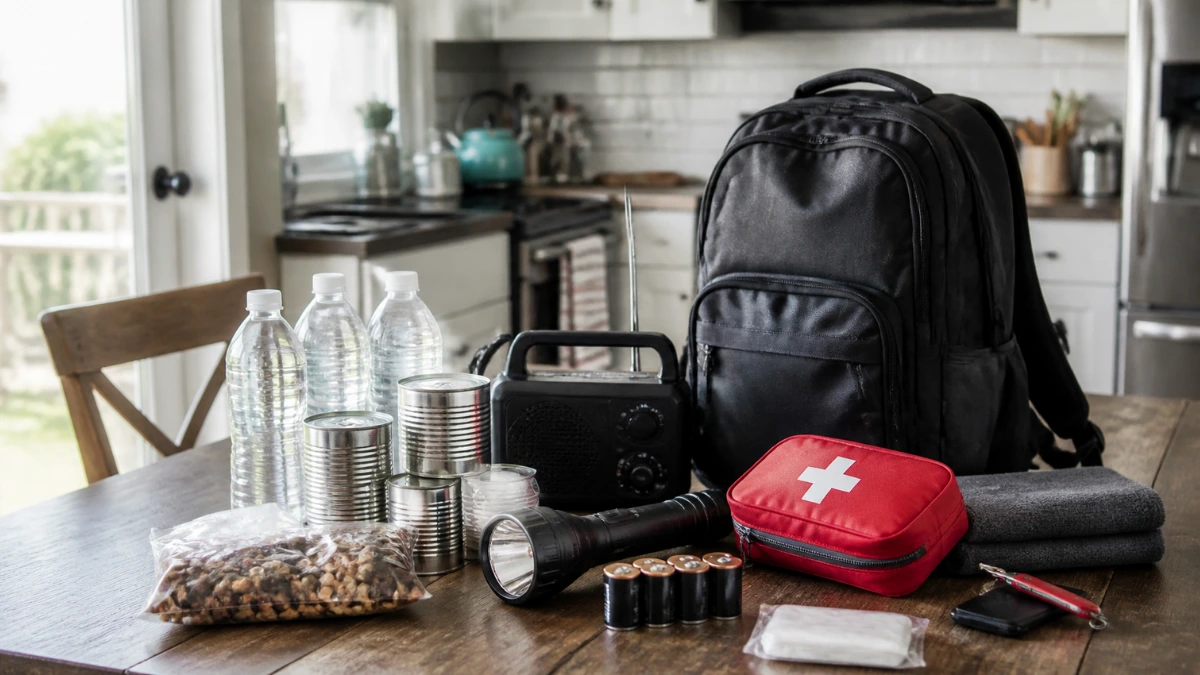
Preparing for emergencies does not have to mean spending hundreds of dollars on expensive survival equipment. In fact, many of the supplies you need may already be sitting in your kitchen, bathroom, or storage cupboard.
A power outage, severe storm, water supply interruption, or temporary evacuation can disrupt everyday routines with little warning. Having basic supplies organized in advance can make these situations easier and safer to manage.
Many households struggle to know what to buy first, how much to spend, and which products are truly necessary.
This guide explains how to build a home emergency kit on a budget, with a practical shopping plan, a sample $75 budget, and money-saving ideas for beginners.
You do not need to complete your kit in one shopping trip. Start with essential supplies and gradually improve your preparedness.
1. What Is a Home Emergency Kit?
A home emergency kit is a collection of essential items that can help your household manage temporary disruptions to electricity, water, transportation, or other everyday services.
Unlike specialized survival equipment, a basic household emergency kit focuses on familiar necessities.
These typically include:
- Drinking water and shelf-stable food.
- Flashlights and spare batteries.
- First-aid supplies and essential medications.
- Basic hygiene products.
- A battery-powered or hand-crank radio.
- Emergency contact information.
- Charging equipment and important documents.
The goal isn’t to buy every emergency product available. It is to organize enough useful supplies to support your household during an unexpected disruption.
The Federal Emergency Management Agency (FEMA) recommends keeping essential supplies for at least three days. Canadian emergency preparedness guidance also recommends being ready for at least 72 hours.
A three-day supply is a sensible starting point, although households in areas vulnerable to prolonged disruptions may need more.
2. Start by Checking What You Already Own
Before creating a shopping list, spend 15–20 minutes looking through your home.
You may already own several useful emergency supplies.
Check your kitchen for canned food, a manual can opener, bottled water, and shelf-stable snacks.
Look in your drawers for flashlights, batteries, charging cables, and a portable power bank.
Your bathroom or medicine cabinet may contain bandages, gauze, antiseptic supplies, and other first-aid essentials.
Also look for an unused backpack, duffel bag, or sturdy plastic storage container.
Make a Simple Inventory
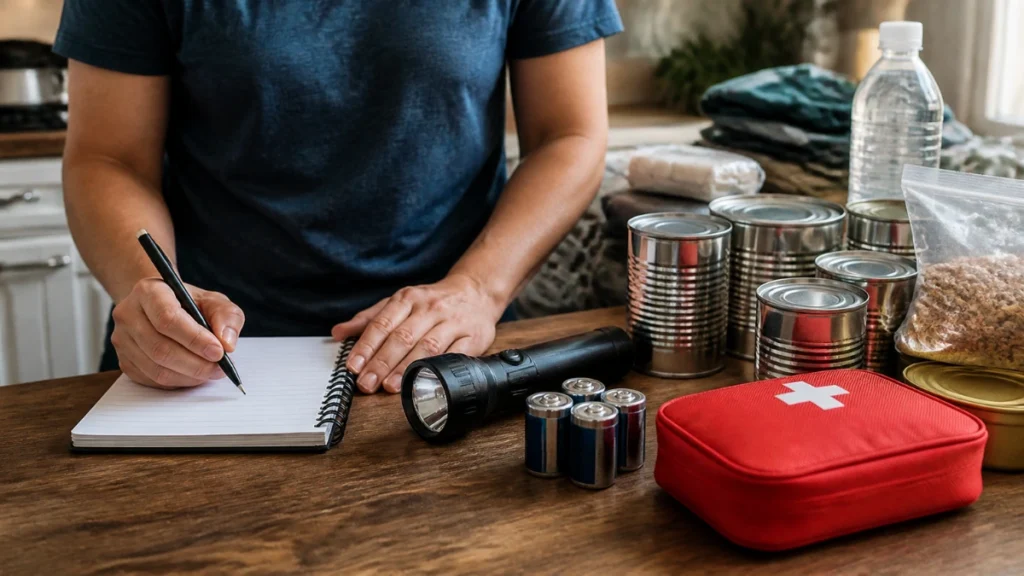
Divide your findings into three groups:
Already available: Items you own that work and are suitable for emergency use.
Need to purchase: Essential supplies you are missing or don’t have enough of.
Optional upgrades: Useful products you can buy later.
This simple exercise prevents unnecessary spending and helps you concentrate on genuine gaps.
For example, there is little reason to buy an expensive emergency flashlight if you already own a reliable battery-powered model.
However, test existing equipment before adding it to your kit. A flashlight with dead batteries won’t help during a blackout.
3. Prioritize Essential Supplies Before Extras
When money is limited, purchasing priorities matter.
Start with supplies that support immediate health and safety.
Priority 1: Water
Safe drinking water is one of the most important emergency supplies.
For US households, CDC guidance recommends storing at least one gallon of water per person per day for three days, with additional water where necessary.
For one person, that means at least three gallons.
For a household of four, the three-day minimum becomes 12 gallons.
Canadian guidance recommends at least two liters per person per day for basic needs, plus extra for cooking and cleaning.
Because water needs vary, follow your local emergency guidance and account for children, medical needs, pets, and hot weather.
You don’t need expensive specialty emergency water containers to start. Commercially bottled water is a practical option.
Store it in a cool, clean place away from chemicals and direct sunlight.
For more detailed advice, read our article How Much Emergency Water Should You Store at Home?
Priority 2: Food That Does Not Require Refrigeration
Choose familiar, affordable foods you can eat without cooking or with minimal effort.
Suitable options include:
- Canned beans and vegetables.
- Canned fish or meat.
- Peanut butter or another suitable spread.
- Crackers.
- Dried fruit.
- Nuts and seeds.
- Shelf-stable ready-to-eat meals.
- Granola or energy bars.
Select foods that suit your family’s dietary requirements and allergies.
A manual can opener is important if your supplies include cans without pull tabs.
Avoid relying entirely on foods that require refrigeration, electricity, or large amounts of cooking water.
Our article, How to Build a 7-Day Emergency Food Supply on a Budget, offers a more detailed approach to emergency meal planning.
Priority 3: Light and Communication
Power outages can make ordinary household activities difficult, especially after sunset.
A basic emergency kit should include at least one working flashlight, spare batteries, and a reliable way to receive official information.
A battery-powered or hand-crank radio can be particularly useful when internet access or mobile service is unavailable.
If you already have a rechargeable power bank, keep it charged and include the appropriate phone cable.
Do not depend exclusively on a smartphone for emergency alerts.
Priority 4: First Aid and Medications
You don’t need an elaborate medical kit to start.
A simple first-aid kit may include:
- Adhesive bandages.
- Sterile gauze.
- Medical tape.
- Disposable gloves.
- Antiseptic wound cleanser.
- Basic first-aid instructions.
Keep essential prescription medications and medical equipment accessible according to professional guidance.
Never reduce, skip, or change prescribed medication simply to save money or build an emergency reserve. Ask your pharmacist or healthcare professional about safe backup arrangements.
Priority 5: Hygiene and Sanitation
Basic hygiene supplies help maintain cleanliness when normal water or sanitation services are disrupted.
Useful items include soap, hand sanitizer, wet wipes, toilet paper, garbage bags, and personal hygiene products.
Most households already have these products.
You may only need to set aside a small reserve rather than purchase a separate collection.
4. A Sample $75 Home Emergency Kit Budget

The following example illustrates how one adult who already has some household supplies might allocate $75 toward an emergency kit.
It is a starter purchasing plan, not a guarantee that $75 will provide every item needed for 72 hours.
| Item | Illustrative budget |
|---|---|
| Drinking water | $9 |
| Shelf-stable food | $20 |
| Basic flashlight and batteries | $12 |
| First-aid essentials | $10 |
| Hygiene supplies | $6 |
| Manual can opener | $4 |
| Whistle and small miscellaneous items | $4 |
| Additional emergency cash reserve | $10 |
| Total | $75 |
These amounts are planning allowances, not verified store prices. The cash reserve is money retained for emergencies, not a purchased supply.
This example assumes you already own a suitable storage bag, phone charger, and a reliable way to receive emergency alerts.
If you don’t have a radio, power bank, necessary medications, or enough food and water, add these to your budget.
For a larger family, food and water requirements will increase substantially.
Important: Do not treat $75 as a universal cost for a complete emergency kit. A safe and adequate kit depends on household size, existing supplies, local prices, and individual needs.
5. How to Build Your Emergency Kit Over Four Weeks
If purchasing everything at once is difficult, spread the cost over several weeks.
Week 1: Gather Existing Supplies and Start Water Storage
Start with the items you already have at home.
Choose a storage container and identify a convenient location.
Buy safe drinking water if you don’t have enough stored.
Write down any remaining water needs so you can keep building your supply.
Week 2: Add Emergency Food
Set aside familiar, shelf-stable foods.
Check expiration or best-before dates and ensure that the food can be eaten safely without electricity.
Buy a manual can opener if needed.
Week 3: Add Lighting, Communication, and First Aid
Test your flashlights and batteries.
Check your radio and power bank.
Gather first-aid supplies and review arrangements for essential medications.
Purchase only what is missing.
Week 4: Organize, Label, and Review
Add hygiene products, emergency contact information, and copies of important documents.
Place sensitive documents in a waterproof pouch.
Label the storage container and make sure household members know where to find it.
Check your supplies against an official emergency kit checklist.
If anything essential is still missing, keep building your kit in the coming weeks.
6. Where to Buy Emergency Supplies Without Overspending
You do not necessarily need a specialized preparedness store.
Ordinary supermarkets, discount retailers, pharmacies, and hardware stores often carry the basic items required for household emergencies.
Compare Unit Prices
A larger package is not always cheaper.
Compare the unit price when buying bottled water, batteries, canned food, or hygiene supplies.
Choose Store Brands Where Appropriate
Store-brand food, bottled water, and basic hygiene products may cost less than well-known brands.
Check quality, safety information, and expiration dates instead of choosing based solely on packaging.
Avoid Buying Unnecessary Multipacks
Bulk purchasing can save money, but only if you’ll use the products before they expire.
For a small household, a modest supply of familiar foods may be more practical than a large box of unfamiliar emergency meals.
Use Products You Already Understand
A basic flashlight that you know how to operate may be more useful than an expensive multifunctional gadget with complicated controls.
Choose reliable, easy-to-maintain equipment.
7. Five Emergency Kit Purchases You Can Postpone
Some emergency preparedness products are useful, but they aren’t always essential for a beginner’s first kit.
1. Expensive survival backpacks: An existing sturdy backpack or duffel bag may be sufficient.
2. Specialized survival food buckets: Ordinary shelf-stable food can provide a practical starting point.
3. Premium multitools: Basic household tools may already meet your immediate needs.
4. Large portable power stations: These can be valuable for particular circumstances, but most households should first address water, food, lighting, communication, and medical needs.
5. Elaborate premade emergency kits: Some contain unnecessary accessories or insufficient quantities of essential supplies.
There is nothing inherently wrong with purchasing these products later. The key is to avoid spending money on optional equipment while important necessities remain missing.
8. How to Organize Your Emergency Kit at Home
A kit is useful only if you can find and access it during an emergency.
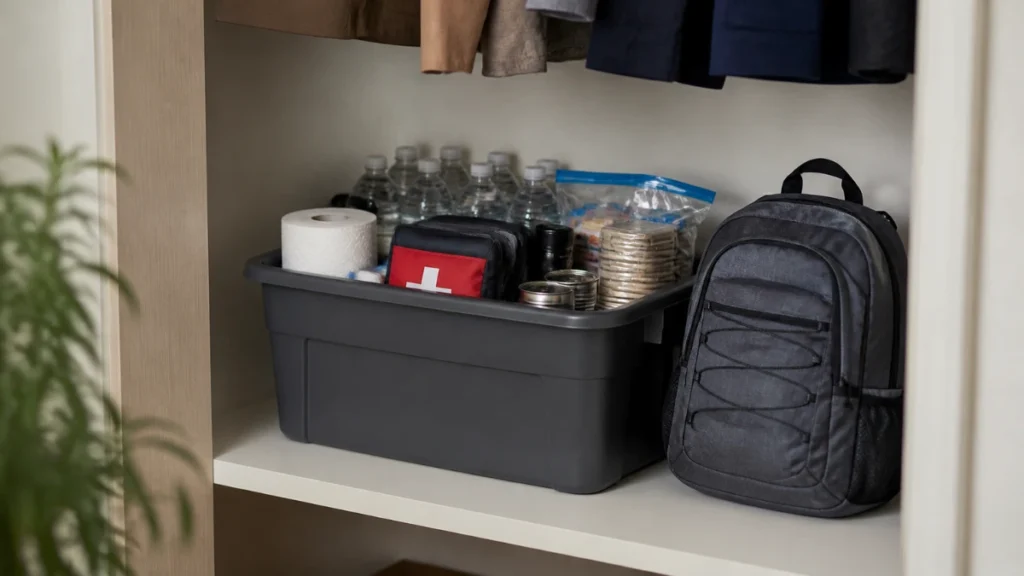
Choose a sturdy plastic container, backpack, or duffel bag.
For a home-based kit, a plastic storage bin may be convenient.
For evacuation, a portable backpack or duffel bag is generally more practical.
Store supplies in a cool, dry, accessible location.
Avoid storing the entire kit in a basement vulnerable to flooding.
Keep heavy water containers in a stable location where you can access them safely.
Consider dividing supplies into two groups:
Home emergency supplies: Larger quantities of food, water, and household necessities.
Grab-and-go bag: Essential documents, medications, a flashlight, communication supplies, and other items needed during evacuation.
Our article How to Store Emergency Supplies in a Small Home or Apartment offers practical storage ideas for households with limited space.
9. Adjust Your Emergency Kit to Your Household
An emergency kit for one healthy adult will not necessarily meet the needs of a family with young children, older adults, or pets.
Families With Children
Consider diapers, formula, child-appropriate food, necessary medications, and a small comfort item.
Older Adults
Include information about medications, emergency contacts, mobility requirements, and essential medical equipment.
People With Disabilities or Medical Needs
Plan for accessible supplies, backup arrangements for essential equipment, and evacuation assistance.
Pet Owners
Store appropriate pet food, water, medication, and basic care supplies.
A budget kit should be affordable, but it must also suit the people who will depend on it.
10. Maintain Your Emergency Kit Without Wasting Money
Building the kit is only the first step.
Supplies must remain safe and usable.
Set a reminder to inspect your emergency kit every six months.
During each inspection:
- Check food dates and packaging.
- Review water storage and replacement requirements.
- Test flashlights and radios.
- Recharge power banks.
- Replace damaged batteries.
- Review first-aid supplies.
- Update emergency contacts.
- Check clothing and supplies for changing family needs.
A useful money-saving approach is to rotate shelf-stable foods into your normal meals before they expire, then replace them with fresh supplies.
This helps reduce waste while keeping the emergency kit ready.
11. Common Mistakes When Building a Budget Emergency Kit
Buying Gadgets Before Necessities
A sophisticated emergency tool cannot replace safe water, adequate food, or necessary medication.
Start with the essentials.
Forgetting Household Size
A kit for one person may not be enough for a family of four.
Calculate supplies based on the people and animals in your household.
Depending Entirely on Electricity
Choose at least some equipment and food you can use without household power.
Storing Everything in One Heavy Container
Large water supplies can make a single emergency kit difficult to move.
Keep larger quantities safely stored at home and prepare a separate portable evacuation bag.
Never Checking the Kit
Food, batteries, medications, and other supplies require periodic review.
A simple maintenance schedule can prevent avoidable problems.
12. Printable Home Emergency Kit Checklist
Use this checklist to review your supplies.
Essential Supplies
- Drinking water for at least three days
- Three-day supply of suitable shelf-stable food
- Manual can opener
- Flashlight
- Spare batteries
- Battery-powered or hand-crank radio
- Phone charger and power bank
- First-aid supplies
- Essential medications and medical items
- Hygiene and sanitation supplies
- Emergency contact information
- Copies of important documents
- Small emergency cash reserve
- Suitable storage container
Household-Specific Supplies
- Baby supplies, if needed
- Pet food and care supplies
- Accessibility and mobility equipment
- Additional clothing and blankets
- Spare glasses or other personal necessities
- Special dietary supplies
Frequently Asked Questions
How much does a basic home emergency kit cost?
The cost depends on household size and the supplies you already own. A $75 starter budget may cover several basic purchases for one adult, but it may not cover a complete 72-hour kit. Start with essentials and add missing items over time.
Can I make an emergency kit using household items?
Yes. Existing flashlights, backpacks, canned foods, hygiene products, and first-aid supplies can form the foundation of an emergency kit. Check their condition and make sure you have enough.
What should I buy first for an emergency kit?
Prioritize safe drinking water, suitable food, essential medications, basic lighting, and reliable emergency communication. Adapt the order to your household’s immediate needs.
Is a premade emergency kit worth buying?
A premade kit may be convenient, but compare its contents and quantities with official recommendations. Building your own kit often gives you greater control over the supplies and their suitability.
How often should I check my emergency kit?
A six-month review is a practical starting point. Check perishable supplies, batteries, medical items, and emergency contacts more frequently when necessary.
Final Thoughts
Building a home emergency kit on a budget is less about buying expensive equipment and more about making sensible preparations.
Start by checking what you already own. Prioritize drinking water, food, essential medications, lighting, communication, and basic hygiene. Use a shopping list to fill important gaps without purchasing unnecessary gadgets.
A modest, well-organized, and maintained emergency kit can be more useful than an expensive collection of products nobody knows how to use.
The most important step is simply to begin.
This article is intended for general educational purposes. Follow official local emergency preparedness guidance and professional medical advice for individual needs.