
This distinction is important for search intent and avoids unnecessary duplication. It also creates a natural opportunity to link the two articles.
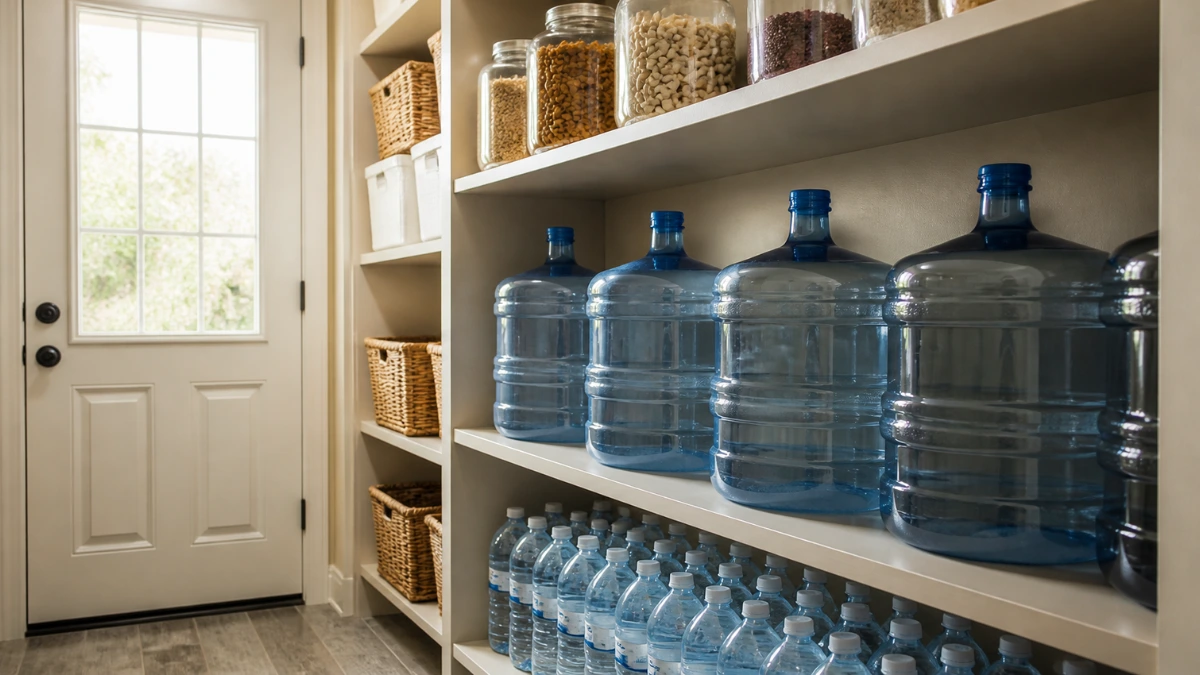
When a severe storm, flood, earthquake, or major power outage disrupts your household water supply, having drinking water stored at home can make an enormous difference.
But storing water is not simply a matter of filling a few bottles and leaving them in a cupboard.
The type of container you use, how you clean it, where you keep it, and how often you replace the water all affect its safety.
Fortunately, learning how to store drinking water safely is straightforward. You don’t need an expensive storage system or a large basement to begin.
This guide explains how to choose suitable containers, prepare them properly, store water safely, and maintain an emergency supply that is ready when your household needs it.
Why Safe Drinking Water Storage Matters
Most households depend on a reliable supply of treated water from municipal systems or private wells.
During an emergency, that supply may be interrupted or contaminated.
Flooding can affect water sources, damaged infrastructure can interrupt distribution, and prolonged power failures can interfere with water treatment or pumping systems.
Even when water is available, local authorities may issue a boil-water advisory or another public health notice.
Having a separate emergency drinking water supply provides a valuable backup.
However, poorly stored water can become contaminated through dirty containers, improper handling, or contact with unsafe materials.
The Centers for Disease Control and Prevention (CDC) emphasizes that safe water storage involves both using safe water and protecting it from contamination after storage.
The goal isn’t just to keep water available. It is to keep it safe to drink.
How Much Drinking Water Should You Store?
Before choosing containers, estimate how much emergency water your household needs.
The CDC recommends storing at least one gallon (approximately 3.8 liters) per person per day for at least three days.
If space and resources permit, the CDC suggests working toward a two-week supply.
A basic three-day supply would look like this:
| Household size | 3-day water supply |
|---|---|
| 1 person | 3 gallons |
| 2 people | 6 gallons |
| 3 people | 9 gallons |
| 4 people | 12 gallons |
| 5 people | 15 gallons |
These are baseline planning quantities. Hot weather, illness, pregnancy, pets, and other household needs may increase the amount required.
For example, a family of four would need at least 12 gallons for three days under the CDC’s baseline recommendation.
Canadian preparedness guidance commonly uses a minimum of two liters of drinking water per person per day, with additional water for food preparation and hygiene. Follow the guidance relevant to your location.
If you’re uncertain how much water your household needs, see our detailed guide, How Much Emergency Water Should You Store at Home?
This article focuses on keeping that supply safe, not repeating the calculations.
Step 1: Choose Safe Drinking Water Storage Containers
Choosing the right container is one of the most important decisions in emergency water storage.
Not every plastic bottle, bucket, or household container is suitable for storing drinking water.
Food-grade water storage containers
For household water supplies, the CDC recommends food-grade containers intended for water storage.
Suitable containers should be:
- Made from materials appropriate for drinking water.
- Durable and resistant to damage.
- Easy to clean and sanitize.
- Equipped with a tightly fitting lid.
- Designed to minimize contact between stored water and hands or utensils.
Containers specifically marketed for potable-water storage are often available from camping, outdoor, and emergency-preparedness suppliers.
Check the manufacturer’s instructions and food-contact suitability before purchasing.
Commercially bottled water
Unopened, commercially bottled water is another practical option.
The CDC identifies commercially bottled water as the safest and most reliable emergency water supply option.
Its advantages include:
- No need to sanitize and fill containers yourself.
- Convenient smaller portions.
- Easy distribution among household members.
- Manufacturer packaging designed for drinking water.
Keep bottled water sealed until needed and follow the manufacturer’s storage instructions and marked dates.
What about ordinary plastic bottles?
Some household containers may be suitable for reuse, but they require careful evaluation.
A previously used beverage bottle is not automatically an ideal long-term storage container.
Avoid containers that are difficult to clean, have damaged interiors, or cannot be sealed securely.
Never use containers that previously held bleach, pesticides, fuel, cleaning chemicals, or other toxic substances, even after washing them.
Chemical residues may remain and contaminate the water.
Glass or plastic?
For most emergency storage situations, durable food-grade plastic is more practical than glass.
Glass containers can break during earthquakes, accidental falls, or hurried evacuations.
Plastic containers are generally lighter and easier to transport, provided they are specifically suitable for drinking water.
Step 2: Clean and Sanitize Containers Before Filling
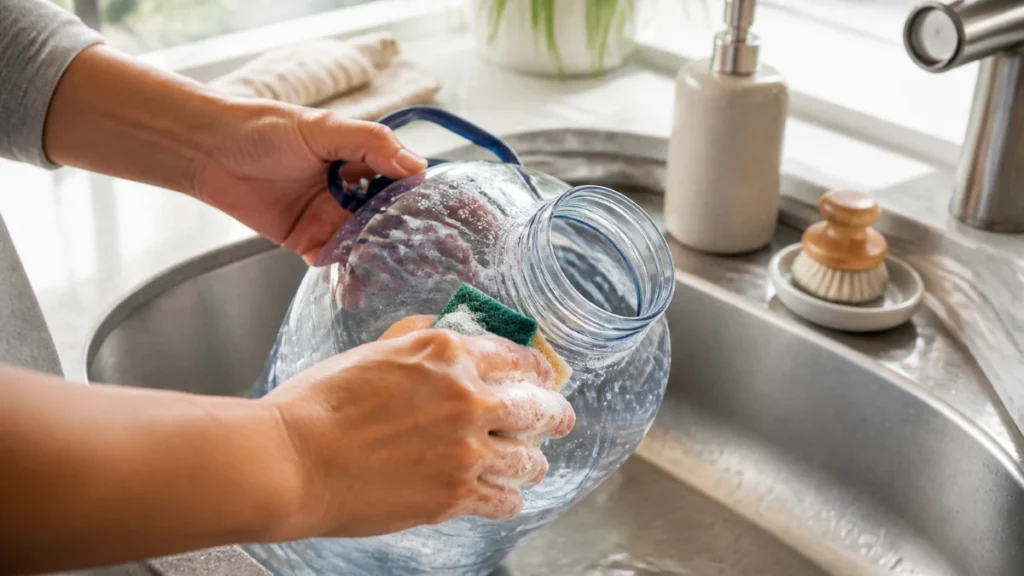
Even a new container may need cleaning before its first use.
Cleaning removes dirt and residue, while sanitizing helps reduce harmful microorganisms.
The CDC provides a straightforward procedure for preparing water storage containers.
Cleaning procedure
- Wash the container thoroughly with dishwashing soap and water.
- Rinse completely with clean water.
- Prepare a sanitizing solution using 1 teaspoon of unscented liquid household chlorine bleach containing 5%–9% sodium hypochlorite in 1 quart (approximately 1 liter) of water.
- Pour the solution into the container.
- Close the lid and shake well so the solution contacts all interior surfaces.
- Allow at least 30 seconds of contact.
- Pour out the sanitizing solution.
- Allow the empty container to air-dry, or rinse it with water already known to be safe.
Use only plain, unscented bleach at the specified concentration, with no added fragrances or cleaners. Never mix bleach with other cleaning products.
Important: This procedure sanitizes an empty storage container. It is not a drinking-water disinfection dosage.
If your water needs treatment, follow separate official instructions to make emergency water safe.
Once the container is cleaned and sanitized, you can fill it.
Step 3: Fill Containers With Safe Drinking Water
Use water that is already safe to drink.
For households connected to a reliable municipal water system, normal potable tap water may be suitable for storage.
However, don’t assume water from an untreated well, rain barrel, stream, or other uncertain source is safe.
If your local authority has issued a boil-water or do-not-drink advisory, follow its instructions before filling containers.
How to fill containers properly
- Wash your hands before handling clean containers.
- Use a clean tap or other safe filling method.
- Avoid touching the inside of the container or lid.
- Fill according to the manufacturer’s instructions.
- Close the container tightly immediately after filling.
Do not add chemicals unnecessarily to water that is already safe to drink.
If you use a private well or another water source requiring treatment, consult your local public health authority for appropriate procedures.
Label every container
Clearly mark each container with:
- “Drinking Water”
- The date it was filled
- The next planned replacement date
For example:
DRINKING WATER — Filled: October 2026 — Replace: April 2027
A waterproof label or permanent marker can help keep the information readable.
Labeling makes it easier to maintain your emergency supply and distinguish drinking water from water stored for other purposes.
Step 4: Store Water in a Cool, Dark, Safe Location
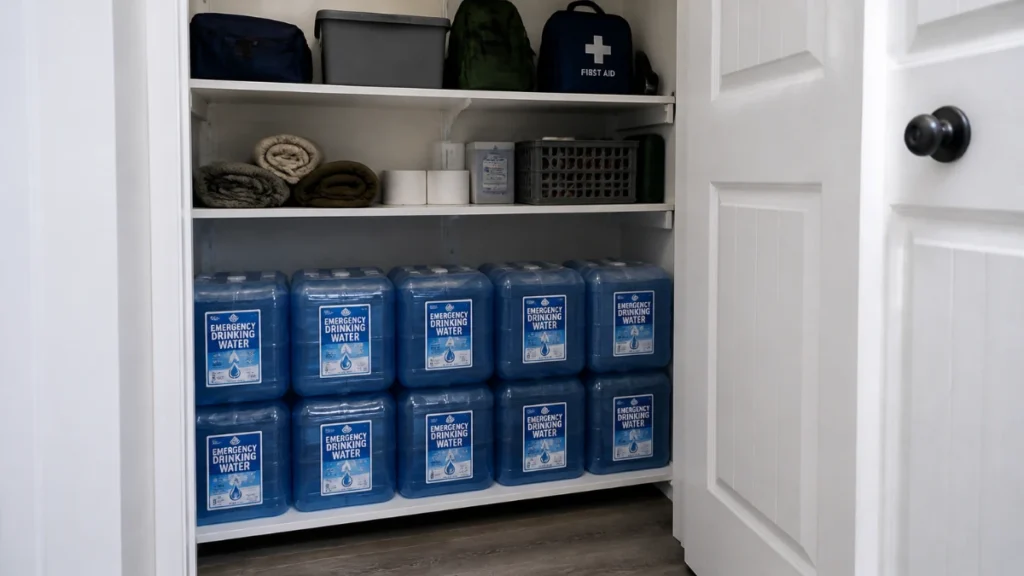
Where you keep your water matters almost as much as the container itself.
The CDC recommends storing household-filled emergency water in a cool location, ideally around 50°F–70°F (10°C–21°C), away from direct sunlight.
Suitable storage locations
Depending on your home, possible locations include:
- A cool pantry.
- A suitable interior storage closet.
- A clean basement area that is not vulnerable to flooding.
- A temperature-controlled utility or storage room.
Choose a location that remains accessible during an emergency.
Places to avoid
Avoid storing drinking water:
- In direct sunlight.
- Near gasoline, pesticides, solvents, or cleaning chemicals.
- In areas exposed to extreme heat.
- Where containers could freeze and rupture.
- On unstable shelving.
- In locations likely to flood or become inaccessible.
Water is heavy. One US gallon weighs about 8.3 pounds (3.8 kilograms).
A five-gallon container therefore holds roughly 42 pounds of water, excluding the container’s weight.
Place heavy containers on low, sturdy shelves or stable floors, and make sure the surface can safely support the load.
Water storage in small homes and apartments
You don’t need a dedicated storage room.
You can distribute smaller containers across safe, accessible storage locations.
For example, you might keep several sealed bottles in a pantry and additional water in a cool interior closet.
Avoid blocking exits, electrical equipment, or frequently used walkways.
For more practical space-saving ideas, see our guide, How to Store Emergency Supplies in a Small Home or Apartment.
Step 5: Replace and Rotate Stored Drinking Water
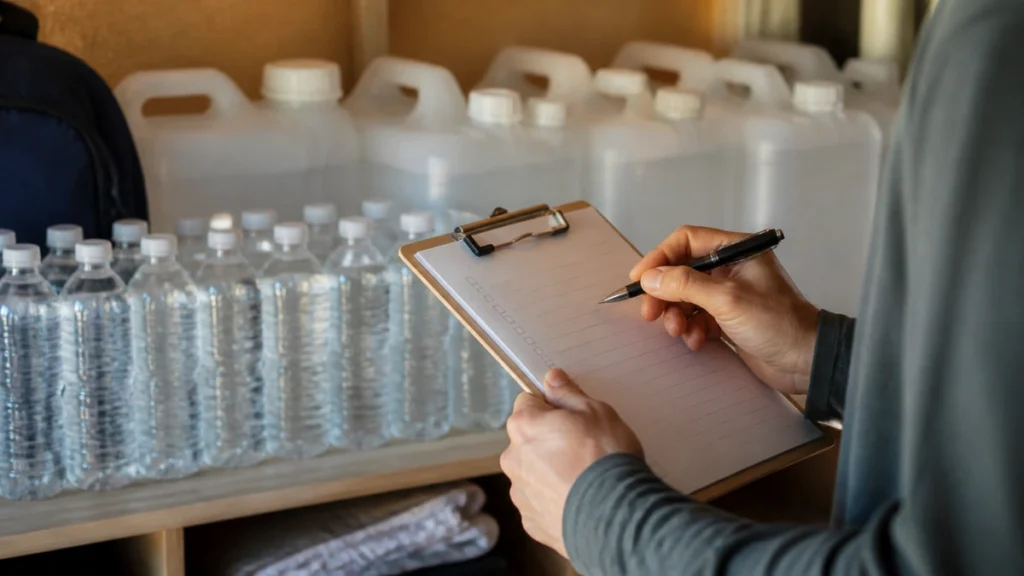
Emergency water storage is not a one-time task.
Water stored in containers you fill yourself needs periodic replacement.
The CDC recommends replacing household-filled stored water every six months.
This provides a straightforward maintenance schedule for beginners.
A simple water rotation routine
- Check the filling date on each container.
- Set a reminder for six months after filling.
- Empty the container when it’s time to replace it.
- Inspect it for damage or contamination.
- Clean and sanitize it before refilling.
- Fill with fresh, safe drinking water.
- Update the label.
Handle commercially bottled water differently.
Keep it unopened, follow the manufacturer’s instructions, and observe the dates marked on the packaging.
You don’t need to open sealed commercial bottles just to follow the six-month replacement schedule intended for household-filled containers.
Can you use old stored water for gardening?
Water removed during routine rotation may be useful for non-drinking purposes, such as watering ornamental plants, provided it hasn’t become contaminated with hazardous substances.
However, don’t assume questionable stored water is safe for drinking, cooking, or food preparation.
When in doubt, use a verified safe drinking water source.
Step 6: Prevent Contamination When Using Stored Water
Water that was safe when stored can become contaminated when handled improperly.
This is particularly important during an emergency when normal cleaning facilities may be unavailable.
Follow these basic precautions
- Wash or sanitize your hands before handling drinking water.
- Keep storage containers closed when not in use.
- Pour water rather than placing hands inside containers.
- Use a clean dispensing tap or utensil if necessary.
- Never dip an unwashed cup directly into a storage container.
- Keep container openings away from dirty surfaces.
If you use a large water container, a suitable dispensing spigot may reduce repeated opening and handling.
Inspect containers before use.
If a container is damaged, has an unusual odor, or shows signs of contamination, do not assume the water is safe.
Use another safe source and seek local public health guidance when necessary.
Step 7: Know What to Do if Stored Water Becomes Unsafe
Proper storage reduces risks, but it cannot guarantee that every water supply will remain safe under all circumstances.
A container may be damaged, floodwater may enter a storage area, or the original water source may be unsafe.
When boiling may help
According to the CDC, boiling effectively kills disease-causing germs in water.
For microbiologically unsafe water, CDC guidance generally recommends bringing clear water to a rolling boil for one minute, or three minutes at elevations above 6,500 feet.
Let the water cool, then store it in a clean, sanitized container.
When boiling is not enough
Boiling does not make water contaminated with fuel, toxic chemicals, or radioactive materials safe to drink.
If chemical contamination is known or suspected, use a different safe water source and follow local public health instructions.
Similarly, don’t assume an ordinary household water filter can remove every type of contaminant.
Always follow specific guidance from local authorities during a water emergency.
Step 8: Make Water Storage Part of Your Emergency Preparedness Routine
The easiest way to maintain emergency water is to make it part of your household’s regular preparedness routine.
You don’t need to purchase everything at once.
Start with a manageable supply
Begin with enough water for three days, based on your household’s needs.
If space and budget allow, gradually increase the supply.
Keep a simple inventory
Record:
- The number of containers.
- Their individual capacities.
- The total volume stored.
- The filling or purchase dates.
- Replacement or review dates.
- Their storage locations.
Review your supplies twice a year
A six-month review works well for household water storage.
Check containers for leaks, damage, and accessibility.
Confirm that household needs have not changed.
Connect water storage with other preparedness tasks
Combine emergency water checks with flashlights, batteries, emergency food, and contact information.
A consistent routine makes preparedness easier to maintain over time.
Common Drinking Water Storage Mistakes to Avoid
Using containers that previously held chemicals
Even thoroughly washed chemical containers may retain hazardous residues.
Never repurpose them for drinking water.
Leaving water in direct sunlight
Sunlight and heat can create unfavorable storage conditions and may affect containers.
Use a cool, protected location whenever possible.
Forgetting replacement dates
Replace household water every six months, per CDC guidance.
Labeling and calendar reminders help prevent neglect.
Storing all water in one heavy container
Very large containers can be difficult to move, especially during an evacuation.
A combination of manageable container sizes may be more practical.
Assuming clear water is always safe
Harmful microorganisms or chemical contaminants may be present even when water looks normal.
Appearance alone does not establish drinking-water safety.
Confusing rainwater with drinking water
Rainwater collected for gardening is not automatically safe for drinking.
Roof and rain barrel water can contain microorganisms, debris, and chemicals.
It requires appropriate assessment and treatment before it can be considered potable.
Rainwater can support garden watering, but it isn’t safe for drinking. See how to collect rainwater for your garden.
Emergency Drinking Water Storage Checklist
Use this checklist to review your household’s preparations.
- We have estimated our emergency water needs.
- We have at least a three-day supply or a plan to build one.
- Our storage containers are suitable for drinking water.
- Household-filled containers were cleaned and sanitized.
- We filled containers using safe drinking water.
- Containers are tightly sealed and clearly labeled.
- We store water away from sunlight and chemicals.
- We place heavy containers on stable surfaces.
- We have scheduled six-month replacement of household-filled water.
- We know how to avoid contamination when dispensing water.
- We understand that boiling cannot correct chemical contamination.
Frequently Asked Questions
How long can drinking water be stored safely?
The CDC recommends replacing water stored in household-filled containers every six months. Keep commercially bottled water sealed and store it according to the manufacturer’s instructions and marked dates. Proper storage and container condition are important in both cases.
What is the best container for emergency drinking water?
A durable, food-grade container specifically intended for potable-water storage is a good choice. It should have a secure lid, be easy to clean, and protect the water from contamination. Unopened commercially bottled water is another reliable option.
Can I store drinking water in plastic bottles?
Yes, as long as the bottles are appropriate for drinking-water storage, clean, undamaged, and securely sealed. Purpose-made food-grade containers are preferable for household-filled emergency supplies.
Should I add bleach to stored tap water?
Do not add bleach routinely to water already known to be safe for drinking. The bleach solution used to sanitize an empty container is different from the dosage used to disinfect unsafe water. Follow CDC or local public health instructions if treatment is necessary.
Can I store drinking water in my garage?
A garage is generally not ideal if it experiences extreme temperatures or contains fuel, pesticides, and other chemicals. A cool interior location away from hazardous substances is preferable.
Is rainwater safe to drink after storage?
Not automatically. Collected rainwater may contain microorganisms and chemical contaminants. Do not treat it as drinking water without appropriate testing or treatment and guidance from relevant authorities.
How often should I inspect my emergency water supply?
A brief inspection every few months is useful. Replace household-filled water every six months, and check commercial bottled water against its storage instructions and marked dates.
Final Thoughts
Learning how to store drinking water safely is an important part of practical household emergency preparedness.
You don’t need expensive equipment or a complicated system.
Start with safe water, choose suitable containers, clean and sanitize them properly, and store them in a cool, protected location.
Label everything clearly and establish a simple replacement schedule.
Most importantly, remember that water storage is not just about quantity. It is about ensuring that the water your household depends on remains safe to use.
A small, well-maintained emergency supply is a sensible starting point—and one you can expand as your household’s needs and available space allow.
Water storage is one part of a larger plan. Our household emergency preparedness guide explains how to gather the essentials.
Official sources and fact-checking
- CDC — How to Create an Emergency Water Supply. Covers water quantities, food-grade containers, cleaning, sanitizing, and storage rotation.
- CDC — Safe Water Storage. Explains safe container selection and protection against recontamination.
- CDC — How to Make Water Safe in an Emergency. Explains boiling, disinfection, and limitations where chemical contamination is involved.
- Health Canada — Food and Drinking Water Safety in an Emergency. Provides Canadian household emergency water guidance.